Acrylic letters in a practice
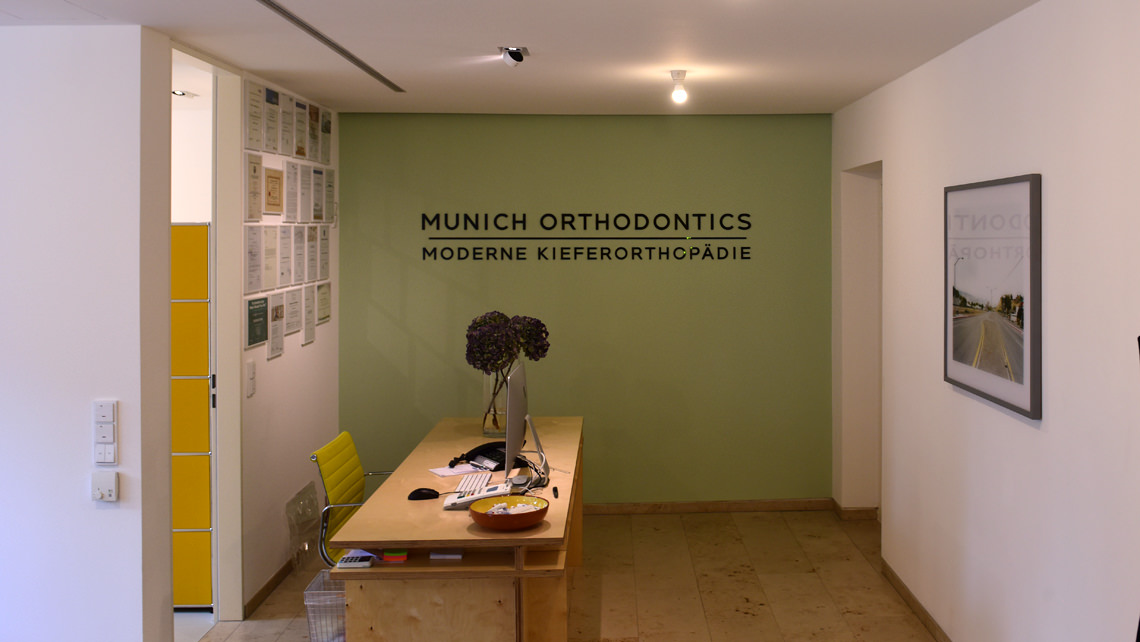
At the Stockebrand orthodontic practice on Marienplatz, we once again made acrylic letters float.
Dear readers,
A few weeks ago, we made acrylic letters float. This post was so well received that we decided to present a similar job to you in this blog post. Click through the photos further down in this post.
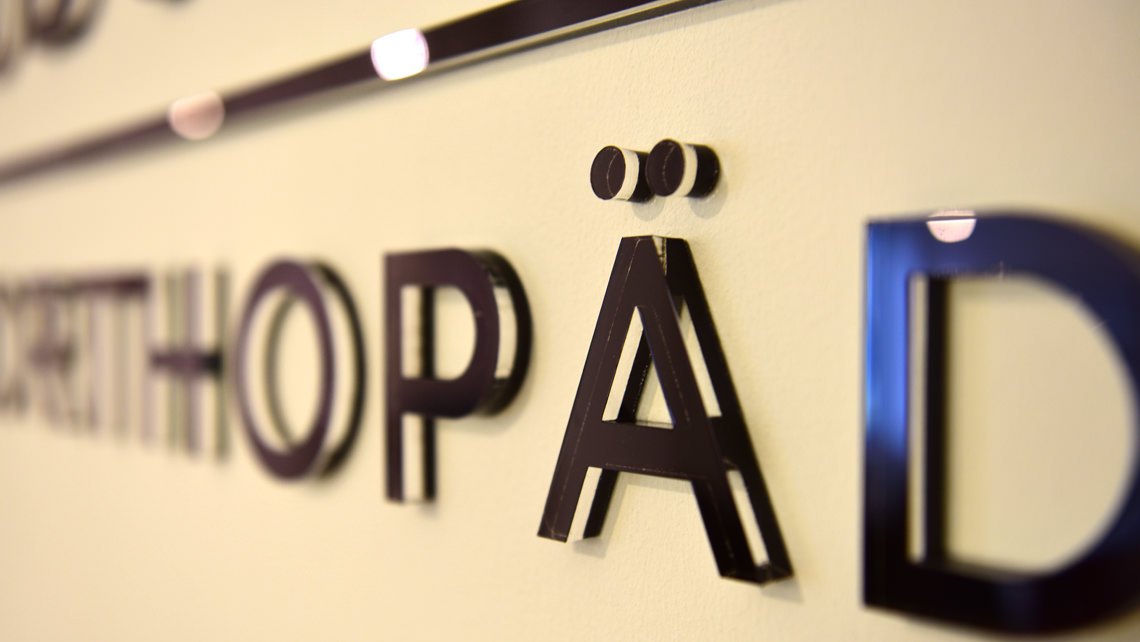
Lasered acrylic letters in the heart of Munich
This time we were in the specialist practice for modern orthodontics in attendance. Our task was to make a lettering consisting of a total of 41 acrylic letters appear to float on the wall. Another graphic element - a long dividing line that ran almost the entire length of the company name - was also required as a visual demarcation.
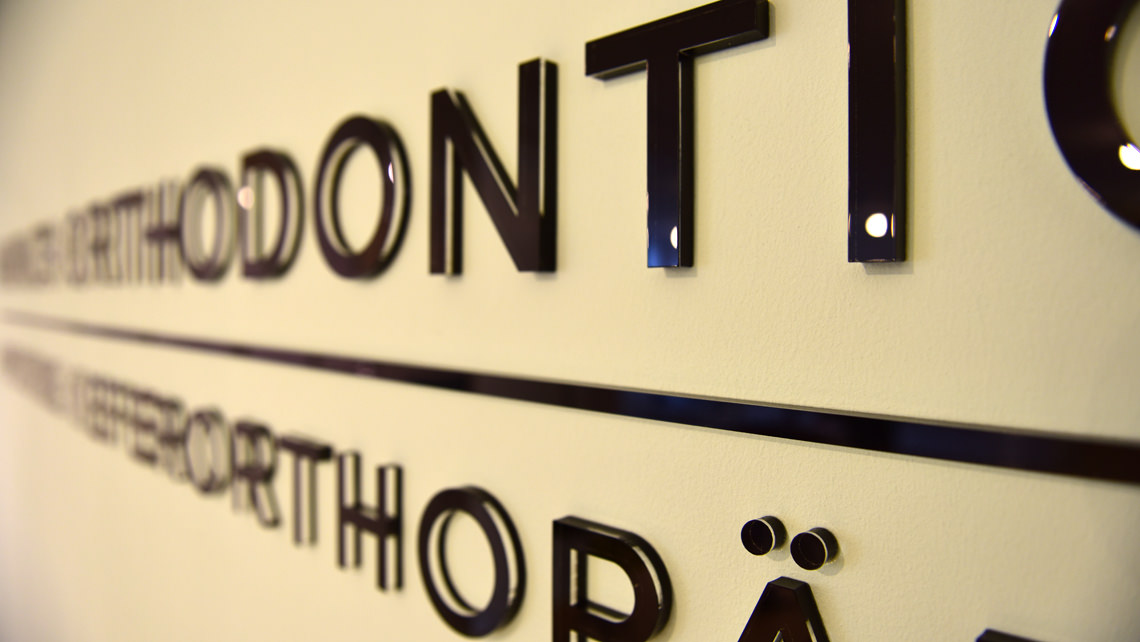
Back glue and laser acrylic black
During the production process, we started by gluing the acrylic letters on the back: Black, high-quality adhesive film is applied to the back of the material. The alternative of "back printing" is also possible in principle, but it is not 100% guaranteed that the adhesive dots will stick to the back.
The individual letters are then lasered out. This has three advantages: Firstly, we can deliver a result accurate to a tenth of a millimeter, which is not possible with the milling machine. Secondly, we can be sure that the bonded film will stick, as it could come off again when polishing with our polishing belt. And thirdly, we can deliver clear, polished edges, which would only be possible with a router and therefore not quite as elegant.
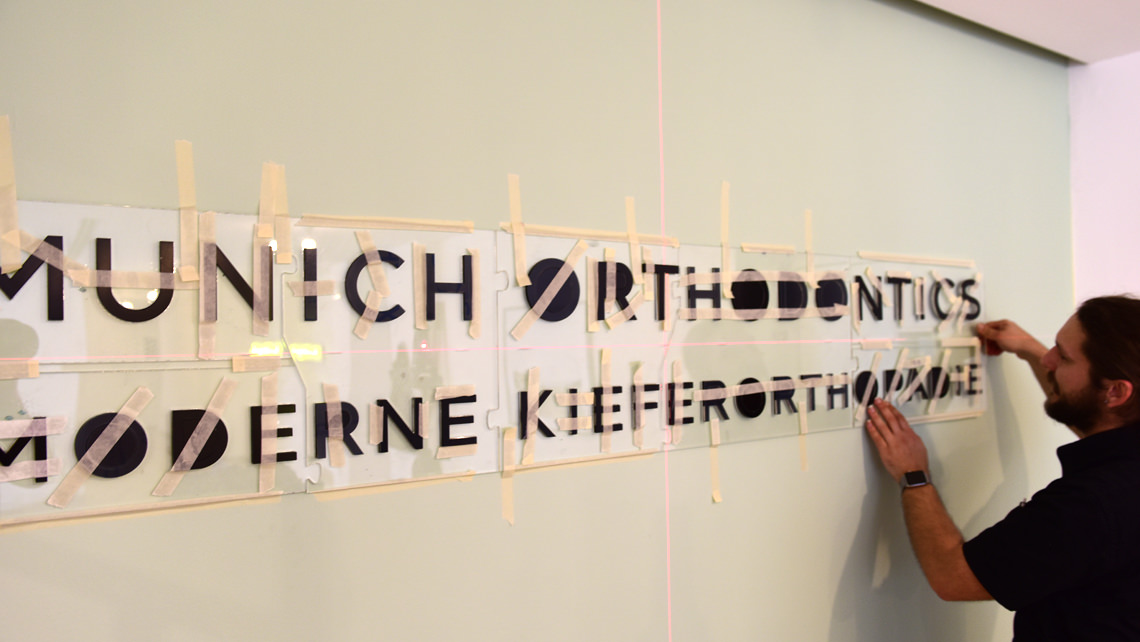
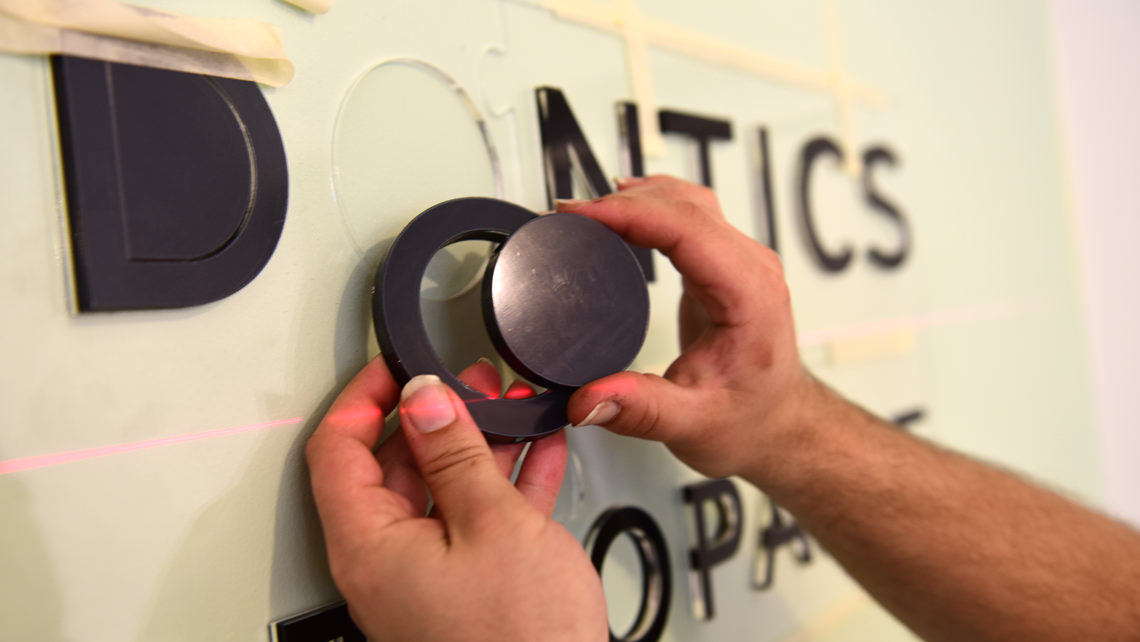


Mounting with template and adhesive dots
To ensure that the installation is both precise and quick (which saves time and therefore money), we do not dispose of the excess acrylic but use it as an installation template. First, we align everything exactly as the customer wants it (the height is particularly important, as the lettering should be positioned approximately at eye level). We then attach the stencils with easily removable masking tape. The last step is to remove the protective film from the prepared adhesive dots on the back of the acrylic letters and finally stick them to the wall.
Everything straight as a die, even the dividing line
The installation team faced a small challenge in that the acrylic separating line bent a little in the middle over this length. However, our experts solved this with a small, self-made "support", so that the separating line also runs absolutely straight through the rows of letters. The result: stylish, high-quality, modern and elegant.
Would you also like to stand out from the crowd and book a similar installation with us? Feel free to contact us at any time.
Your
Matthias Wenzel


