faq_help

File format PDF - print file

The best file format to use is PDFwhich according to our File defaults was created by you.
You can create this PDF file with almost all common graphics programs, for example in: Photoshop, Illustrator, InDesign or CorelDraw etc.
There are also lots of video tutorials on creating printable PDF files at: YOUTUBE

Alternatively, you are welcome to have this created by our graphics and typesetting department (Chargeable depending on expenditure).
For an estimate of the costs, we require information in advance by e-mail, including layout data.

File specifications of the printable PDF file

Color space/mode:
Always use CMYK colors with the corresponding color values for your print data.
The maximum ink application of the four channels should not exceed 320%, otherwise color shifts may occur.
For black and white jobs, the colors should be adjusted accordingly.

Bleed and trim marks:
During further processing, cutting tolerances of up to 2 mm may occur, which cannot be avoided.
Therefore, when creating your print data, make sure that important elements are marked with at least 3 mm distance from the edge.
You should also allow 5 mm bleed beyond the final format and let all images and colored backgrounds extend into this bleed.
For printed products that are bound into a brochure/thesis, the binding margin (page margin) must be  2 - 2.5 cm set.

Image resolution:
The resolution depends on the viewing distance to the print product:
The smaller the distance, the higher the resolution should be - and the higher the distance, the lower the resolution can be.
We generally recommend 300 dpi.

PRINT PRODUCT VIEWING DISTANCE IMAGE RESOLUTION
Wallpaper, tarpaulins Very wide distance, approx. 2-5 meters 75-120 dpi
Posters wide distance, approx. 1-2 meters 250 dpi
Flyer close, approx. 30 cm 300 dpi
Business cards very close, approx. 10 cm 600 dpi

Embed fonts:
In order for your print file with the fonts to be printable, the fonts must be properly embedded in the file or converted to curves.
Otherwise it can happen that selected special fonts are replaced by standard fonts and the printout is visually incorrect.

Creation of contour cut PDF files

To create a cutting (CUT) or kisscut contour as a PDF file, it is best to use Adobe Illustrator

A distinction is made here as to whether you want to create a print motif with a contour cut or whether you only want to create a contour cut file.

Create a contour cut file for an existing print file:
1. Open the existing print file in Adobe Illustrator
2. Select the pen tool
3. Trace the print motif on the desired cutting path
4. After tracing the desired cutting paths, these paths must be converted to a solid color. To do this, select the tab: Window -> Color fields
in the Color fields window, insert a new color field using the + sign, in the pop-up window that appears, designate your contour cut with e.g. CUT or KISSCUT in the color field name.
Under the tab: Color type, select solid color, color mode CMYK and then move one of the color sliders to 100%. For example, the M slider (magenta), then click OK.
5. Use the tool: Direct selection to select your created cutting paths (step 3) and determine the color with the spot color (magenta) created in step 4.
6. Now save the print file including the cutting path as a PDF file as follows: Tab: File-> Save -> File type: Adobe PDF
7.Create finished

contour cut file:
1. Open Adobe Illustrator and set up a white area with the corresponding formats (total length x total height) via the tab: FILE -> New.
2. Tools: Select drawing pen, shapes or other tools (depending on the desired shape and type)
3. Draw the desired shape or contour with the respective tool on the white area
4. After drawing the contour (the desired cutting paths), these paths must be converted into a solid color. To do this, select the tab: Window -> Color fields. In the Color fields window, insert a new color field using the + sign. In the pop-up window that appears, designate your contour drawing with e.g. CUT or KISSCUT in the color field name.
Under the Color type tab, select solid color, color mode CMYK, and then move one of the color sliders to 100%. For example, the M slider (magenta), then click OK.
5. Select your created cutting paths (step 3) with the tool: Direct selection and determine the color with the spot color (magenta) created in step 4.
6. Now save the file as a PDF file as follows: Tab: File-> Save -> File type: Adobe PDF
7. Finished

Contact us if you have any questions

Captcha
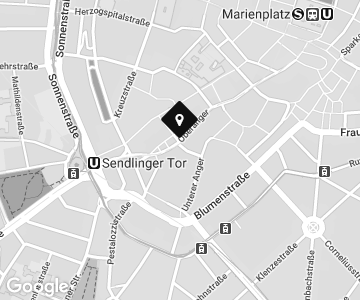
Wenzel GmbH print - copy - media Klosterhofstraße
Now closed
City center
Klosterhofstrasse 2
80331 Munich
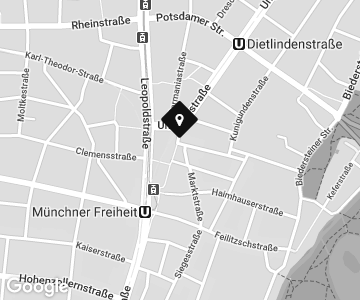
Wenzel GmbH print - copy - media Schwabing
Now closed
Schwabing
Munich Freedom 22
80802 Munich
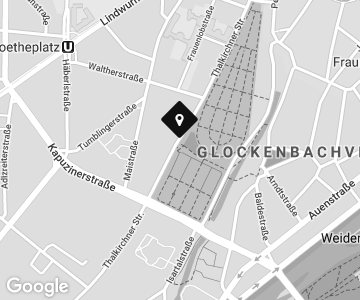
Wenzel GmbH print - copy - media Ludwigvorstadt
Now closed
Ludwigsvorstadt
Thalkirchner Str. 72
80337 Munich